How to Send Files from MacBook to Windows: Easy Transfer Guide
Welcome to our easy transfer guide on sending files from a MacBook to a Windows computer. It’s essential to seamlessly transfer data between these two platforms in today’s world, where most people use multiple devices. This guide will provide an overview of the available file transfer methods and explain how to send your files without hassle.
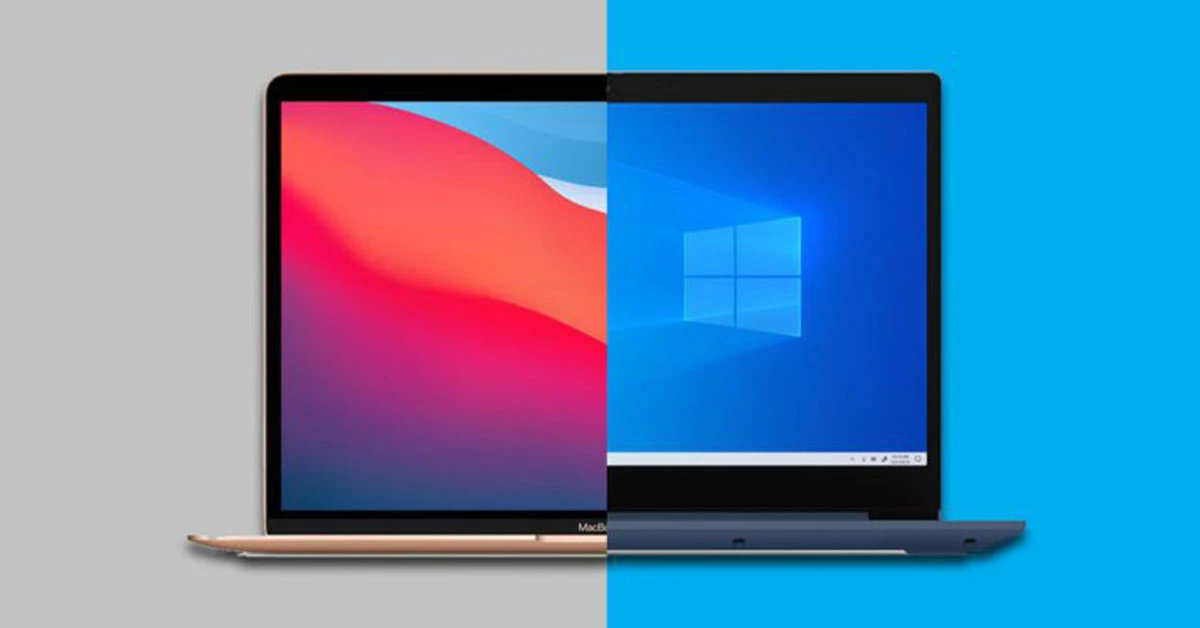
Methods for Sending Files from MacBook to Windows
Several options are available when sending files from a MacBook to a Windows computer. The choice largely depends on personal preferences, the size and number of transferred files, and the available hardware and software. This section will explore the most common methods for transferring files between these two platforms.
Wired Options
The most straightforward way to send files from a MacBook to a Windows computer is through wired options. This includes using USB cables or external storage devices.
USB Cables
Using USB cables, such as USB-C or Thunderbolt, is a reliable and fast way to transfer files between a MacBook and a Windows computer. To initiate the transfer, connect the cable to both devices, select the files to transfer, and drag and drop them to the target folder on the Windows computer. It is essential to ensure that the files are compatible with both platforms. In case of any issues, try troubleshooting by checking cable connections, restarting devices, or ensuring software compatibility.
External Storage Devices
External storage devices such as USB flash drives or hard drives are also excellent for transferring files. Simply connect the devices to the MacBook, drag and drop the selected files to the external device's folder, and then connect the external device to the Windows computer to transfer the files. It is advisable to format the external device to a compatible file system, such as exFAT or FAT32, to ensure maximum compatibility between the two platforms.
Wireless Options
Wireless options include cloud storage services like iCloud, Dropbox, or Google Drive and network file sharing.
Cloud Storage Services
Cloud storage services are a popular option for transferring files between a MacBook and a Windows computer. Simply upload the files to the cloud storage service from the MacBook and then download them on the Windows computer. The benefit of using cloud storage is easy access to files from any device and data backup. Choose a reputable cloud storage service and keep the login credentials safe.
Network File Sharing
Network file sharing requires connecting the Mac and Windows computers to the same network and enabling file-sharing capabilities. The user must create a shared folder on the Mac device and then connect to it from the Windows computer. This is among the fastest options for large batches of files. Ensure to monitor network security and troubleshoot issues on both devices.
The options are plenty when sending files from a MacBook to a Windows computer. The best choice depends on preferences, size, and number of transferred files. Choosing the suitable method and following the appropriate steps ensures a seamless transfer with minimal errors and maximum efficiency.
Using USB Cables for File Transfer
USB cables are one of the most traditional and straightforward methods for transferring files from a MacBook to a Windows computer. This method involves connecting the two devices using a USB-C or Thunderbolt cable.
Step-by-Step Guide:
1. Connect the MacBook and the Windows computer using the USB cable.
2. On the MacBook, go to the "Finder" app and select the files you want to transfer.
3. Drag the selected files and drop them onto the Windows computer's desktop or a specific folder.
4. Wait for the transfer process to complete.
Compatibility and Troubleshooting:
It's important to note that some USB cables may not be compatible with both devices, so it's essential to ensure you're using a cable that works with both systems. Additionally, if the transfer process seems to be taking a long time, try using a different cable or port.
If the transfer doesn't start automatically on the Windows computer, try manually browsing to the MacBook's files by opening "This PC" and then navigating to the MacBook's device name.
Using External Storage Devices
If you prefer to transfer files between your MacBook and Windows computer using an external storage device, such as a USB flash drive or external hard drive, follow these steps:
Step 1: Format the External Storage Device
Connect the external storage device to your MacBook and ensure it is detected. Open the Disk Utility application on your MacBook and select the external storage device from the list of available disks. Click on the "Erase" button and choose the file format as "MS-DOS (FAT)" or "ExFAT." Click on the "Erase" button to complete the formatting process.
Step 2: Copy Files to the External Storage Device
Select the files you want to transfer from your MacBook and copy them to the external storage device. You can do this by dragging and dropping the files onto the device icon on your desktop.
Step 3: Transfer Files to the Windows Computer
Eject the external storage device from your MacBook and connect it to the Windows computer. Open the File Explorer on your Windows computer and locate the external storage device. Copy the files from the external storage device to your Windows computer by dragging, dropping, or using the "Copy" and "Paste" commands.
Note that if you encounter any issues with file permissions, you may need to take ownership of the files on your Windows computer before you can access and copy them.
An external storage device is a simple method for transferring files between a MacBook and a Windows computer. However, it may not be the most convenient option if you need to transfer large files or multiple files frequently.
Cloud Storage Services for File Transfer
If you prefer to use a cloud storage service to transfer files from your MacBook to your Windows computer, several popular options are available. iCloud, Dropbox, and Google Drive are compatible with both platforms and offer easy file-sharing options.
Uploading Files to Cloud Storage
To transfer files using a cloud storage service, start by uploading the files from your MacBook to your chosen service. This can usually be done by dragging and dropping the files into the service's web interface or desktop app. Depending on the service's limitations, you can usually upload multiple files at once.
Once the files have been uploaded, they will be stored securely in the cloud and accessed from any device with internet access.
Accessing Files on Your Windows Computer
To access the files on your Windows computer, open the cloud storage service's web interface or desktop app on your Windows computer and log in using your account credentials. You should be able to see the files you uploaded from your MacBook and download them to your Windows computer.
Note that you'll need an internet connection to access the files stored in the cloud. A slow internet connection may result in slower transfer speeds if you're working with large files.
Benefits of Cloud Storage
One of the primary benefits of using cloud storage for file transfer is that the files are stored securely in the cloud, reducing the risk of data loss or corruption. Cloud storage services often offer accessible collaboration features, allowing multiple users to access and edit files simultaneously.
Cloud storage services also provide an easy way to back up essential files, ensuring they're not lost in hardware failure or other issues.
Network Sharing for File Transfer
If you prefer to transfer files between a MacBook and a Windows computer without needing external devices or cloud storage services, network sharing may be your ideal solution. Network sharing allows you to establish a connection between two devices and share files through a shared network folder. Here's how to get started:
Setting Up File Sharing on Both Devices
Before transferring files through network sharing, you must ensure that file sharing is enabled on your MacBook and Windows computers. Here are the steps for enabling file sharing:
- On your MacBook, go to System Preferences > Sharing.
- Select the checkbox next to File Sharing.
- Select the folder(s) you want to share with your Windows computer.
- Note the username and IP address listed under "Windows File Sharing".
- On your Windows computer, open File Explorer and click on Network.
- Select the option to enable file sharing and enter your MacBook's username and IP address.
- You should now be able to access shared folders on your MacBook from your Windows computer.
Connecting Both Devices to the Same Network
Both devices must be connected to the same network for network sharing to work. You can connect both devices to the same Wi-Fi network or use an Ethernet cable to connect them directly.
Transferring Files Using the Shared Folders
Once file sharing is enabled and both devices connect to the same network, you can transfer files between your MacBook and Windows computer. Here are the steps:
- On your MacBook, navigate to the shared folder from which you want to transfer files.
- Select the file(s) you want to transfer.
- Copy the file(s) to the shared folder on the Windows computer.
- The file(s) should now be accessible on your Windows computer.
Tips for Ensuring Network Security
When sharing files over a network, it is essential to take steps to ensure network security and protect your data from potential threats. Here are some tips:
- Use a robust and unique password for your shared folders.
- Set up a firewall on both devices.
- Disable file sharing when not in use.
- Regularly update your software to ensure you have the latest security patches.
By following these steps and taking the necessary precautions, you can transfer files between your MacBook and Windows computer seamlessly and securely using network sharing.
Troubleshooting and Tips for Successful File Transfer
While transferring files from a MacBook to a Windows computer can be straightforward, it is not uncommon to encounter some hiccups along the way. Here are some common issues and troubleshooting tips to ensure a successful transfer:
File Format Compatibility
Before transferring files, it is essential to ensure that the files are in a format that both the MacBook and Windows computers can read. Some file formats, especially those specific to Apple software, may not be compatible with Windows. Consider converting the files to a universal format like PDF or JPEG to avoid this issue.
Slow Transfer Speeds
Slow transfer speeds can be frustrating, especially when transferring large files. To improve transfer speeds, connect both devices to the same network using a wired connection instead of a wireless one. Closing unnecessary applications on both devices can also free up system resources and improve transfer speeds.
Network Connectivity Problems
When using network-sharing methods, connectivity problems can arise, preventing file transfer. One possible solution is to check that both devices are connected to the same network. Additionally, consider disabling any firewalls or antivirus software blocking the connection.
Optimizing File Transfer Efficiency
To optimize file transfer efficiency, consider compressing large files before transferring them. This can significantly reduce the time and resources required for transfer. Additionally, logically organizing files can make finding and transferring specific files easier.
By following these tips, you can seamlessly transfer files between your MacBook and Windows computer, making it easy to share, collaborate, and access your files whenever and wherever you need them.
Conclusion
In conclusion, sending files from a MacBook to a Windows computer can be simple and hassle-free with the correct file transfer method. Whether using USB cables, external storage devices, cloud storage services, or network sharing, several options are available to ensure seamless data transfer between the two platforms.
Choosing the most suitable method based on individual needs is essential, considering factors such as file size, transfer speed, compatibility, and security. It's also essential to follow the step-by-step guides and troubleshoot any issues arising during the transfer process.
We hope this guide has helped provide an overview of the available file transfer methods and highlighted their pros and cons. Following these tips and recommendations, you can easily send files from your MacBook to your Windows computer and enjoy seamless data transfer between the two platforms.